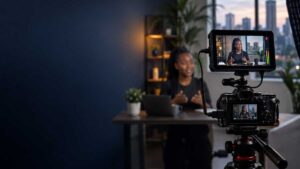
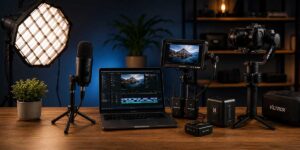
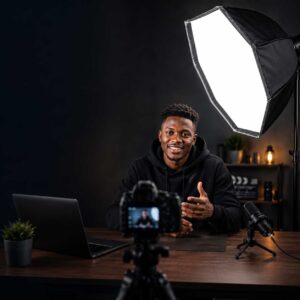
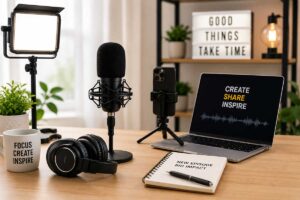
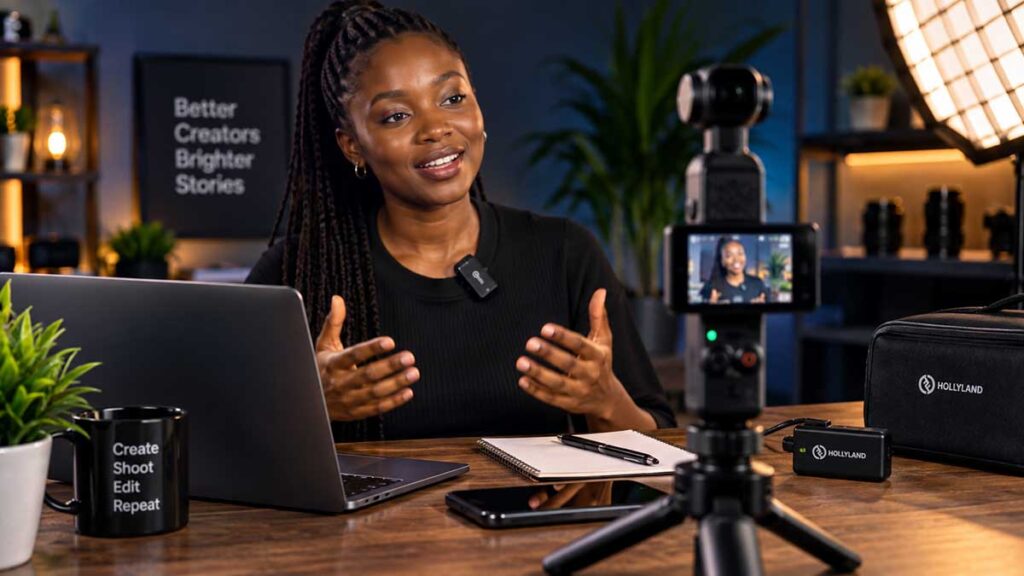
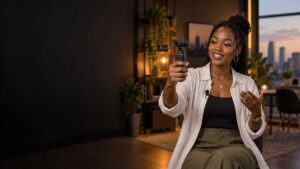
Great visuals deserve great sound. The right microphone setup helps content creators capture clear, professional audio.
Great Picture. Terrible Sound. What Went Wrong?
You’ve finished recording. The lighting looks good. The image is sharp. The colours are beautiful. Maybe you even shot on a compact creator camera such as the DJI Osmo Pocket 3 and you’re impressed by just how professional the footage looks.
Then you press play.
The voice sounds distant. There’s traffic in the background. Someone across the room is somehow louder than the person you’re filming. The room has an echo you didn’t even notice while recording.
Suddenly, that beautiful video doesn’t feel quite so professional.
This is one of the easiest things to overlook when putting together audio for content creators in Kenya. We naturally pay attention to what we can see: cameras, lighting, framing, backgrounds and stabilisation. Audio often gets whatever is already built into the camera or phone.
Until it goes wrong.
And here’s the important part: owning a good camera doesn’t automatically mean you’ll record good audio.
For YouTube videos, TikToks, interviews, podcasts, product demonstrations, reels and client productions, your microphone and recording environment matter just as much as the camera.
So before buying another piece of equipment, let’s look at seven common audio mistakes – and which ones you can fix without spending anything.
1. Assuming a Good Camera Means Good Audio
This is probably the easiest trap to fall into.
Modern cameras and creator devices can produce remarkable video. Even small cameras can now offer excellent resolution, stabilisation, autofocus and colour.
Their built-in microphones can also be perfectly useful in the right circumstances.
The problem is distance.
Your camera needs to be positioned where it gives you the best shot. Your microphone ideally needs to be positioned where it captures the best sound. Those aren’t necessarily the same place.
Imagine presenting a product while your camera sits two or three metres away. Visually, that distance may give you exactly the framing you want. Acoustically, however, the microphone is also two or three metres away from your mouth.
Instead of recording mainly your voice, it captures your voice plus the room around you.
Fans.
Traffic.
People talking.
Doors opening.
Keyboard noise.
And every lovely little echo your room has decided to contribute.
The better approach
Don’t judge your audio setup based purely on the quality of your camera.
Ask:
How far is the microphone from the person speaking?
Sometimes moving the recording device closer is enough. In other situations, an external microphone makes more sense.
2. Recording Too Far Away From the Microphone
This is closely related to the first mistake, but it’s important enough to deserve its own section.
One of the biggest improvements you can make to audio for content creators in Kenya is simply reducing the distance between the speaker and the microphone.
Think about two people having a conversation.
If someone is sitting next to you, you hear them clearly. If they’re speaking from across a busy room, their voice has to compete with everything happening between you.
A microphone experiences much the same problem.
When your microphone is close to your mouth, your voice is stronger compared with surrounding noise. Move it farther away and the room becomes a bigger part of the recording.
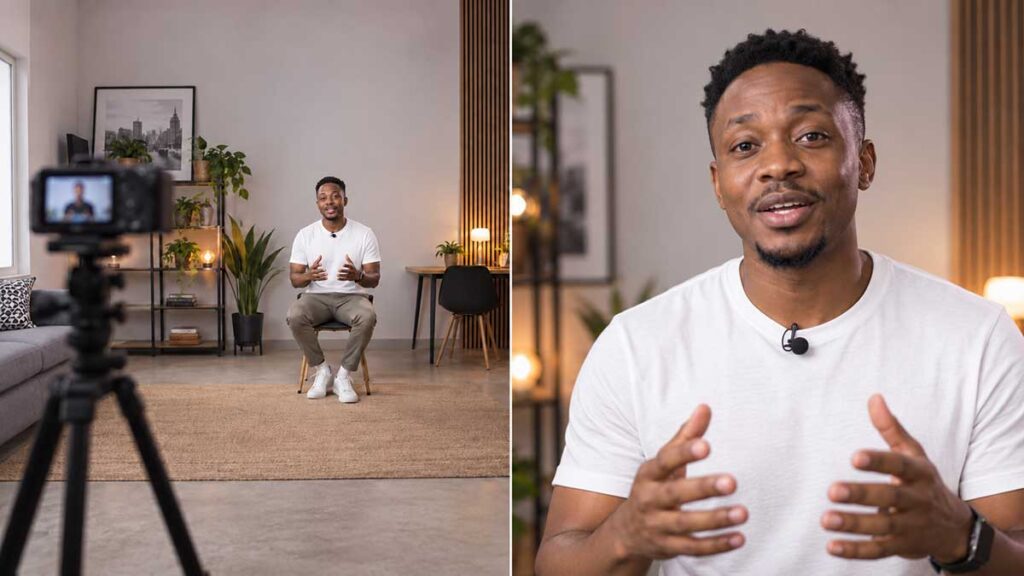
This is one reason small clip-on wireless microphones have become so popular with vloggers, interviewers and social-media creators. The camera can remain several metres away while the microphone stays close to the person speaking.
Your camera can be far from you, but your microphone should stay close for clear, professional sound.
Before buying anything, try this
Record the same sentence three times:
First: stand far from your camera.
Second: move closer.
Third: record using a microphone positioned close to your mouth.
Listen using headphones.
You’ll probably understand microphone distance better from those three recordings than from twenty paragraphs of technical explanation.
3. Thinking Noise Cancellation Can Fix Everything
Noise cancellation is useful.
It is not magic.
Many modern wireless microphones offer some form of environmental noise reduction. Used properly, it can reduce distracting background sounds and make speech easier to hear.
But there’s a dangerous assumption:
“It has noise cancellation, so I can record anywhere.”
Not quite.
A microphone still has to distinguish the sound you want from the sound you don’t want.
A noisy Nairobi street, music playing nearby, several people talking simultaneously or a highly reflective room can challenge even a good microphone system.
Aggressive noise processing can sometimes create another problem: unnatural-sounding voices.
Fix the environment first
Before hitting record, listen.
Turn off an unnecessary fan.
Close a window facing heavy traffic.
Move away from people having conversations.
Switch off music.
Choose a room with curtains, furniture, carpets or other soft materials if another room is extremely echoey.
Then use noise cancellation as an additional tool, rather than expecting it to rescue a bad recording environment.
That principle applies whether you’re using a camera microphone, shotgun microphone, lavalier or wireless microphone.
4. Spending on the Camera and Forgetting the Microphone
This one hurts a little.
A creator can spend KSh 50,000, KSh 100,000 or considerably more building a camera setup and then record the entire production using a microphone several metres away.
The picture looks expensive.
The audio sounds like somebody recorded it from the next room.
For creators working with limited budgets, this is where priorities matter.
You don’t necessarily need the most expensive wireless microphone in Kenya. But once spoken content becomes important to your videos, a suitable microphone deserves a place in your equipment budget.
Think of your setup as a system:
Camera → image
Lighting → visibility and mood
Microphone → voice
Stabilisation → controlled movement
Monitor → viewing and judging the image
Each solves a different problem.
Buying a better camera doesn’t automatically solve the microphone problem, just as buying an expensive microphone won’t fix poor lighting.
5. Choosing a Microphone Before Checking Compatibility
Here’s a less exciting – but expensive – mistake.
You find a wireless microphone with great specifications, buy it and only afterwards ask:
“Wait… how do I connect this to my camera?”
Compatibility should come before price, range and even brand.
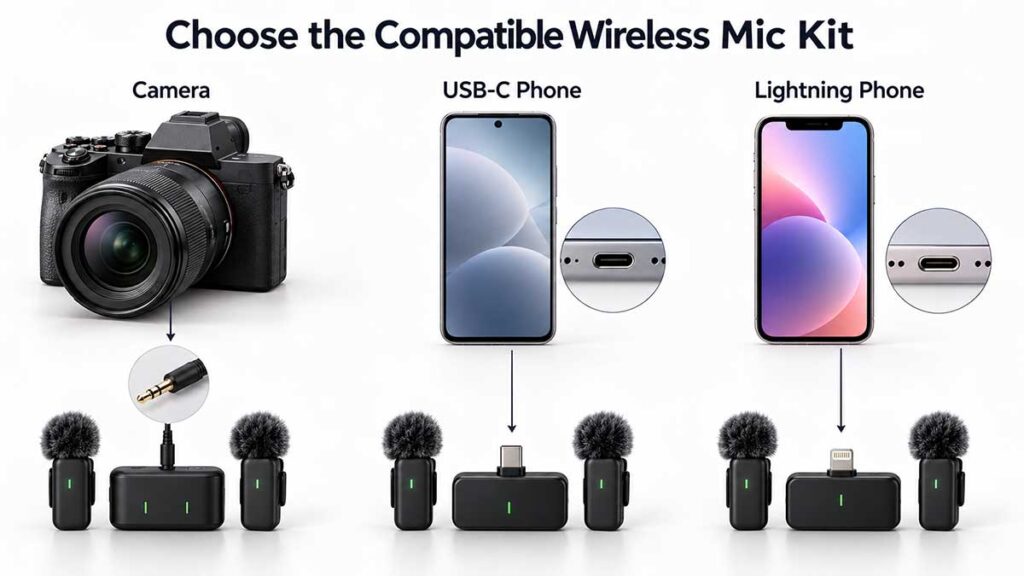
Choose the right wireless microphone kit for your camera, USB-C phone or Lightning phone.
Before choosing a microphone, identify what you’ll normally record with:
Smartphone
DSLR or mirrorless camera
DJI Osmo or another compact creator camera
Laptop/computer
Audio recorder
A combination of several devices
For smartphones, check whether your device requires USB-C, Lightning or another connection.
For cameras, check the available microphone input and the outputs supplied by the receiver.
If you create with both a camera and smartphone, a microphone kit or combo that supports multiple devices can make more sense than buying a system designed around only one connection.
This is also where buying gear based purely on a TikTok recommendation can go spectacularly wrong.
The best microphone isn’t simply the one with the most features. It’s the one that works with your equipment and your type of content.
6. Ignoring Audio Levels Until After Recording
Sometimes the microphone isn’t the problem at all.
The recording level is.
Audio recorded too quietly may require significant boosting during editing, which can make unwanted noise more noticeable.
Record too loudly and the signal can clip, creating harsh distortion.
And clipped audio isn’t something you want to discover after filming a twenty-minute interview.
Before an important recording, have your subject speak at approximately the volume they’ll use during the actual shoot. Monitor the levels and, where your equipment allows it, adjust the gain accordingly.
Don’t test by whispering:
“Testing… one… two…”
…and then begin the actual video shouting:
“HELLO GUYS! WELCOME BACK TO THE CHANNEL!”
Test realistically.
Use headphones when possible
Your camera screen can tell you plenty about the picture.
It cannot tell your ears what the recording actually sounds like.
Headphones can reveal buzzing, clothing rubbing against a lavalier microphone, unexpected background noise and other problems while you can still fix them.
7. Believing “Wireless” Automatically Means Better Sound
Wireless microphones are incredibly useful, particularly for presenters, interviewers, vloggers and creators who need freedom of movement.
But wireless is a connection method – not a guarantee of good sound.
You can still get poor audio from an excellent wireless microphone if it’s badly positioned, covered by clothing, incorrectly configured or used in an unsuitable environment.
Likewise, a simple wired microphone positioned correctly can outperform a badly used expensive wireless system.
Sound quality: Does speech sound natural and clear?
Battery life: Can it comfortably handle your normal shoots?
Number of transmitters: Are you recording one person or two?
Device compatibility: Camera, phone or both?
Onboard recording: Can the transmitter make a backup recording?
Noise reduction: Is it available and adjustable?
Range: How far will the subject realistically move from the camera?
Charging: Does the system include a charging case?
The right combination depends on what you actually create.
So, Do You Actually Need a Wireless Microphone?
Not necessarily.
And that’s worth saying.
If you’re recording close to your camera in a quiet environment and your current audio is already clear, buying another microphone simply because creators online are using one isn’t automatically a good investment.
But consider a wireless microphone if you regularly:
record yourself several metres from the camera, walk while presenting, conduct interviews, create outdoor content, film demonstrations while moving around, record two people simultaneously, or struggle to get clear speech from your current setup.
That’s when wireless audio stops being another shiny accessory and starts solving an actual production problem.
Sound familiar from our external-monitor discussion?
The principle is the same:
Don’t buy equipment because creators are supposed to own it. Buy it when it solves a problem your current setup cannot solve reliably.
What Type of Wireless Microphone Should You Choose?
There isn’t one universal best wireless microphone for content creators in Kenya.
Your use case matters more.
For solo creators and TikTok/Reels
Look for something compact, quick to connect and easy to clip onto clothing. Portability matters because the whole point is being able to start recording without building a complicated rig.
For YouTubers and vloggers
Battery life, clean voice reproduction, portability and camera/phone compatibility become particularly useful.
For interviews
A two-transmitter system makes much more sense. Each speaker can have their own microphone rather than trying to share one.
For professional videographers
Consider features such as onboard backup recording, greater control over levels, reliable transmission and flexible connectivity.
For podcasts and seated productions
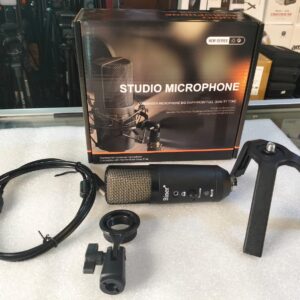
Don’t automatically assume wireless is necessary. If nobody is moving, a quality wired or desktop microphone may actually make more sense.
Choose according to the production not according to what’s trending.
Wireless Microphones Available in Kenya
For creators who have identified that wireless audio would genuinely improve their setup, there are several established systems to consider.
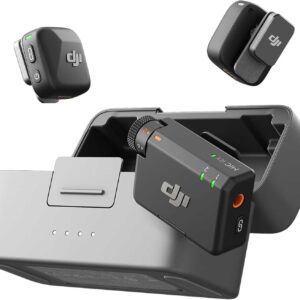
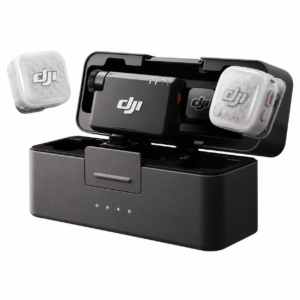
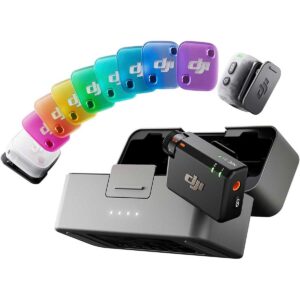
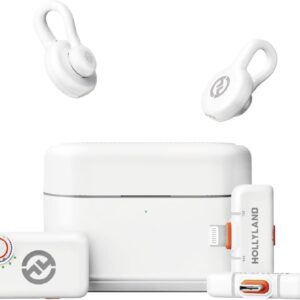
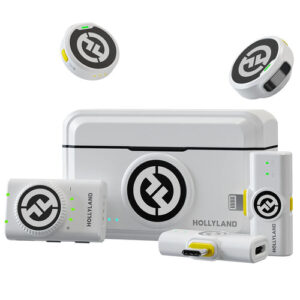
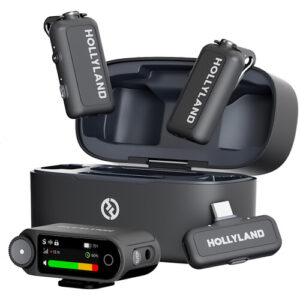
Brands such as Hollyland offer compact wireless microphone systems designed for creators working with cameras and mobile devices.
Systems such as the Hollyland LARK M2, LARK M2S and LARK MAX series cover different creator needs, from lightweight everyday content to more advanced productions.
The important question isn’t simply:
“Which one is best?”
Ask instead:
“Which one solves my recording problem?”
That small change in thinking can save you a surprising amount of money.
A Simple Audio Check Before Every Shoot
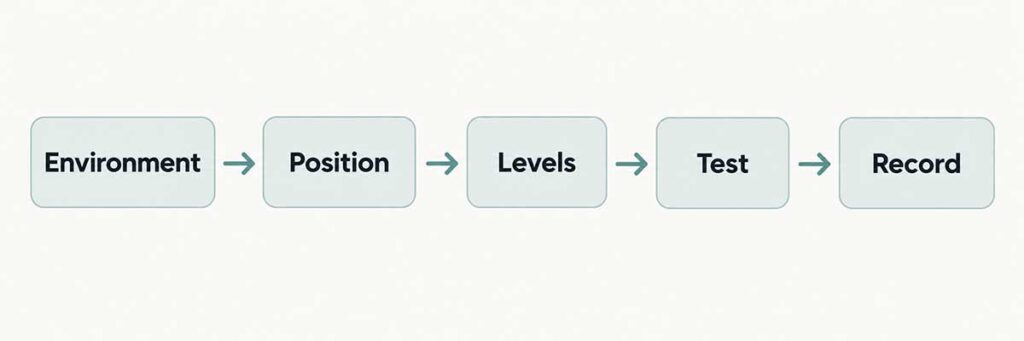
A simple five-step workflow for achieving better audio before recording.
You don’t need a complicated audio engineering routine.
Before recording important content, take about a minute to check:
Environment → Microphone position → Connection → Recording level → Background noise → Test recording → Headphone check
Then record ten seconds and play it back.
Ten seconds spent checking audio can save you from discovering forty minutes later that your beautiful footage has unusable sound.
And yes, we’ve learned that lesson too.
FAQs About Audio for Content Creators in Kenya
What is the best microphone for content creators in Kenya?
There is no single best microphone for everyone. Solo creators may prefer a compact wireless system, while interviewers may need two transmitters. Podcasters recording at a desk may be better served by a wired microphone. Choose according to how and where you record.
Do I need a wireless microphone for an Osmo Pocket?
Not always. A built-in microphone can be sufficient for certain close-range recordings and quieter environments. An external or wireless microphone becomes more useful when the speaker is farther from the camera or when you need greater control over voice capture.
Is a wireless microphone better than a camera microphone?
For dialogue where the speaker is some distance from the camera, a properly positioned wireless microphone can provide a major advantage because the microphone remains close to the speaker. However, microphone quality, positioning and the recording environment all matter.
What microphone is best for YouTube videos in Kenya?
Consider your filming style first. Seated YouTubers have different needs from vloggers, interviewers and outdoor creators. Look at compatibility, sound quality, battery life and whether you need one or two transmitters.
Can wireless microphones work with smartphones?
Many modern wireless microphone systems are available with USB-C or Lightning connectivity, while others offer camera receivers. Always check the exact kit and your device compatibility before buying.
Does noise cancellation remove all background noise?
No. Noise reduction can help suppress unwanted sound, but good microphone placement and a suitable recording environment should come first.
Better Audio Doesn’t Start With Buying More Gear
Perhaps the biggest lesson in improving audio for content creators in Kenya is that professional sound doesn’t begin at the checkout counter.
It begins by listening.
Listen to your room.
Check how far your microphone is from the speaker.
Pay attention to your recording levels.
Make a test recording.
And identify the actual problem before buying something to fix it.
Sometimes the solution costs nothing more than moving closer to the microphone.
Sometimes you genuinely need a different microphone.
Knowing the difference is what makes you a smarter creator.
Need Help Choosing the Right Microphone?
At Viewtime Cameras & Accessories, we stock creator equipment for different types of productions, including wireless microphone systems, cameras, lighting, monitors, stabilisation equipment and other photography and videography accessories.
Rather than choosing a microphone purely by price or popularity, tell us what you’re recording and what device you’re using. We can help you identify the setup that makes sense for your workflow.
Great video gets people’s attention. Great audio helps keep it.
Disclaimer: This article is intended as a general guide for content creators. Product features, compatibility, availability and specifications may vary by model or version and can change over time. Always confirm that a microphone is compatible with your camera, smartphone or recording device before purchasing. Products mentioned are examples of solutions available to creators and should be selected according to your individual recording needs and workflow.


 OUT OF STOCK
 OUT OF STOCK
 OUT OF STOCK
 OUT OF STOCK
 OUT OF STOCK
 OUT OF STOCK